You have users in your SocialToaster program; now it's time to send them content. Learn how to create a SocialToaster post to send sharable, branded content to your advocates.
Curious about FTC hashtags, what they are, and why you need to use them? Check out our FTC article here.
Why should I Post?
Sending a post allows your users to share your content with the click of a button This is the best and easiest way for your users to spread the word about your brand.
Prepare to send your Post
Sending a post requires the following pieces (but don't worry, a lot of it can come right from the link you use).
- Link - This will be a link to whatever content you want your users to share (i.e. blog post, article, your website, donation site, product description, etc.)
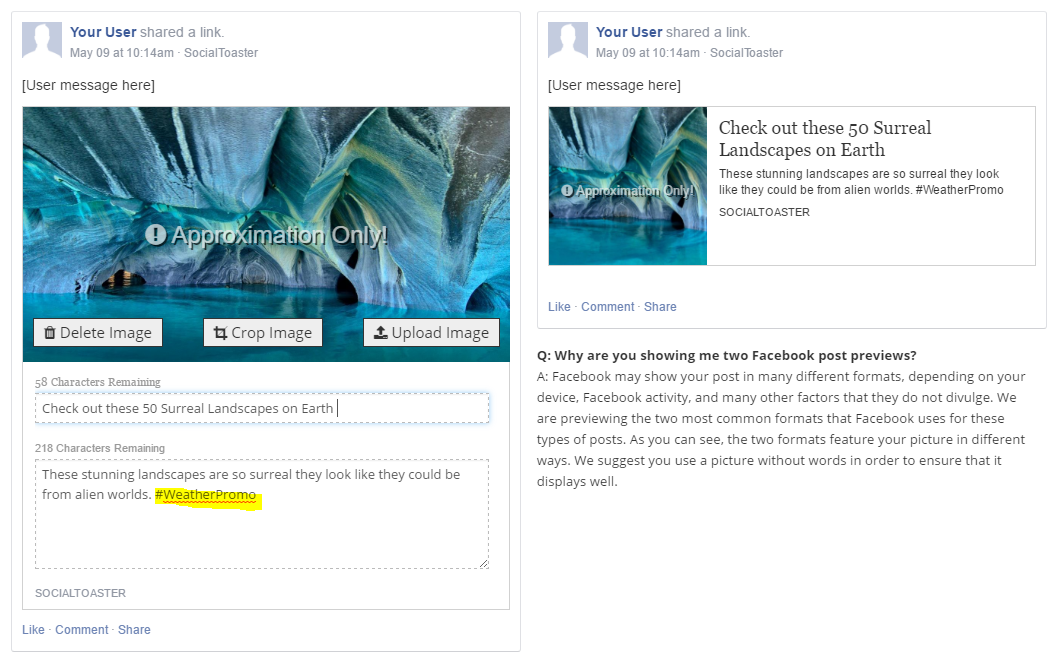
- Image - This image should in some way represent whatever content you’re sharing (i.e. a product image, logo, etc.). The recommended size for post images is 1200x630. If the link you are using has “OG metadata”, our Dashboard will automatically pull an image from the link to make your life easier. In the event you do not have a unique image to post, your program has been set up with a default post image so that your post will not go out without an image.
- Social Copy - Our posts include pre-populated share copy, so it’s easy for your users to share content with one click! You will need to create this copy, but don’t worry it isn’t difficult! In this section, we recommend using your FTC disclosure hashtag (i.e. #contest, #entry, #promo, #ad, #sponsored, #sweepstakes etc.) to remain compliant. The social copy you must create will depend on the networks you have enabled for your program and is generally pre-filled for you from OG metadata.
- Facebook (and Tumblr) Post Title – 105 characters
- Facebook Additional Information – 320 characters
- Twitter Tweet – 113 characters
- LinkedIn Comment – 255 characters
- LinkedIn Description - 140 characters
- Pinterest Status – 255 characters
- Tumblr Description – 320 characters
- Email
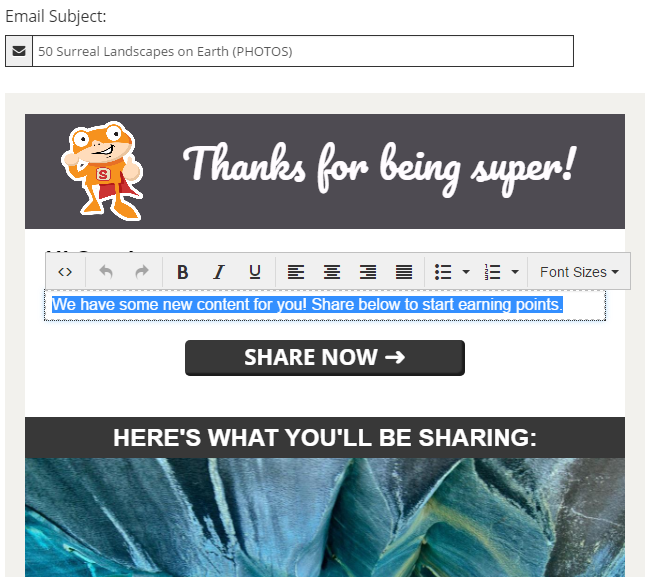
- Subject - This subject should relate to your content in some as well as include a call to action. Give your users a reason to open this email.
- Summary - This section will expand further on the content you’re sharing. Give your users an explanation of your content and ask them to share it.
Where to Create Your Post
After you’ve prepared your copy, you’re ready to create your post in your dashboard. You have two options to get to your “Create a Post” page.
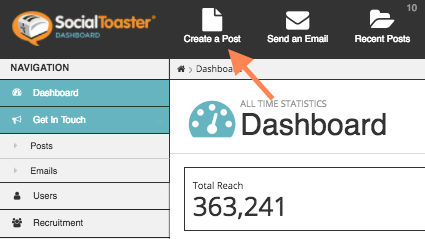
Use the Create a Post shortcut in the top menu
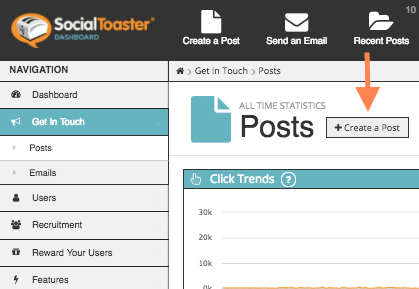
Go to Get In Touch > Posts > Create a Post
Let's Create a Post!
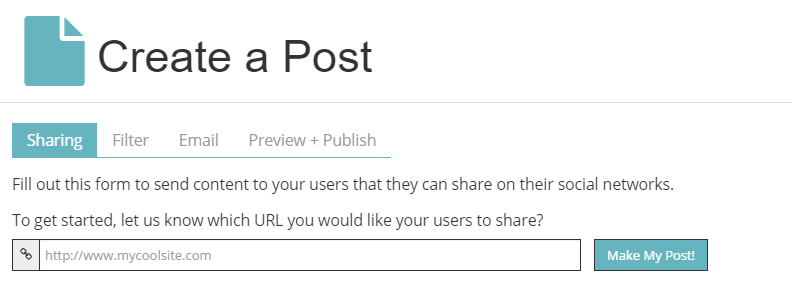
Sharing - edit your social copy
- First, copy and paste in the link you want users to share
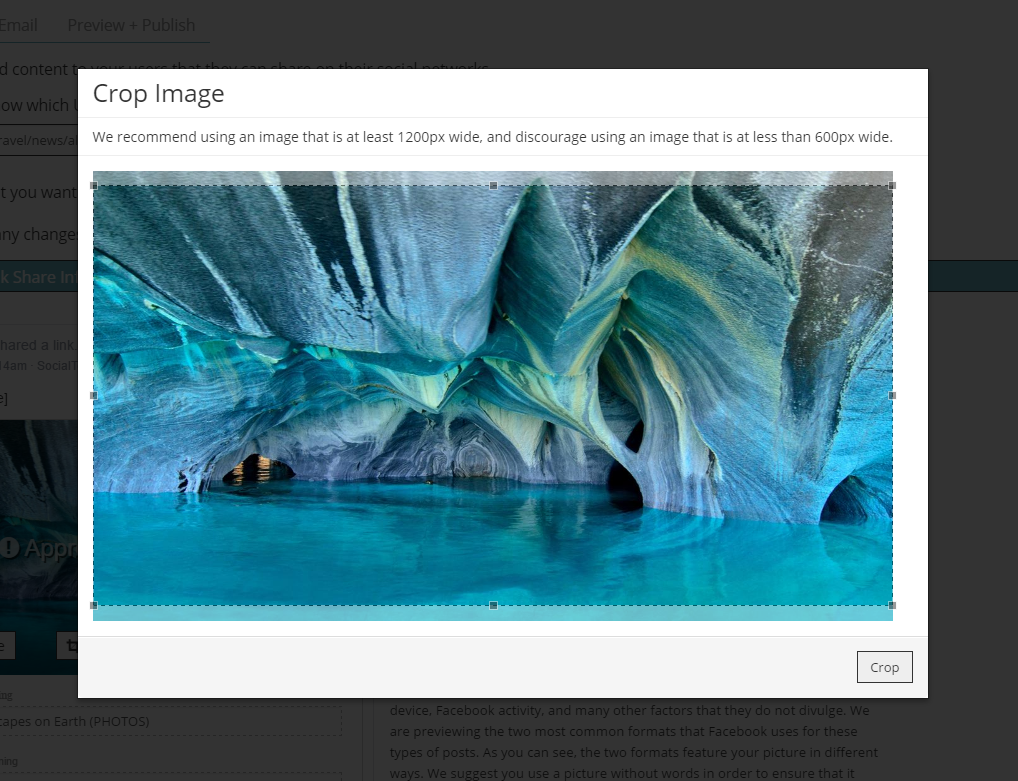
- Next, we will pull up the image if one came from your url. You will need to crop the image before you can edit the post. Don’t worry, if you don’t like that image, or you don’t have one, you can change it later.
- Now it is time to edit your share copy. You can type right into the previews. The copy you are creating here will be shared to your user’s social networks. Keep in mind your social copy sections will warn you if you’re nearing the character limits. Don’t forget your FTC hashtags (you can put them anywhere in the posts)!
Filter - Who Gets the Post?
- The next step is to choose who should receive the post and where it should display.
- Email and/or Share More. Select if your post will go out to users via email. You can also choose to have your post available in the “share more” block when users log into your program.
- Geotargeting. You don’t have to, but if you choose to, you may send your post to 25, 50, or 100 miles from any U.S. Zip Code.
Email - Edit Your Email
- Be sure to edit your subject and the body of the email that you send.
- Test your email by using the “Send a Test Email” feature below your email preview. You can send it to yourself, create an address book, or send it to a “one time recipient”.
Preview & Publish!
- Preview all of your content one more time and scroll to the bottom to view scheduling options. Schedule your content to be released. You have the following options:
- Send Now – This will go out immediately
- Send Later – This will go out at a date and time you’ve selected. You’re able to choose the date, time, and time zone.
- If you are using the Share More library, you’ll want to determine an expiration date. This is the last day the content will be available in the content library/share more block. We highly recommend setting up an expiration date, so you don’t have any outdated posts in your content library.
You did it! You created a post! Congrats, we can’t wait for you to see the results.
Want to learn more about the features of the Post Page? Take a look here!
Geotargeting feature utilizes GeoLite2 data created by MaxMind, available from https://www.maxmind.com.